When it comes to achieving a flawless, durable, and visually appealing surface, a self leveling epoxy floor stands out as one of the best solutions. Whether you want to upgrade your garage, enhance your commercial space, or revamp old concrete, this flooring option delivers a seamless finish and long-lasting performance.
In this guide, we’ll break down what a self leveling epoxy floor is, its benefits, installation process, and cost considerations — so you can decide if it’s the right choice for your space.
What is a Self Leveling Epoxy Floor?
A self leveling epoxy floor is a high-performance resin-based coating that creates a smooth, seamless surface over concrete. It is designed to “self-level,” meaning it naturally spreads out to eliminate dips, bumps, and imperfections.
It’s available in different finishes and can be tinted with colors, metallic pigments, or decorative flakes for a unique design. You can even combine it with epoxy flakes for a textured, slip-resistant finish.
This type of flooring is ideal for:
-
Residential garages
-
Commercial warehouses
-
Kitchens and restaurants
-
Hospitals and laboratories
-
Showrooms and retail spaces
Benefits of a Self Leveling Epoxy Floor
Investing in a self leveling epoxy floor comes with multiple advantages that make it worth every penny.
1. Smooth, Flawless Finish
The self-leveling nature of the epoxy ensures a completely even surface, making it perfect for areas where aesthetics matter — such as showrooms, kitchens, and offices.
2. Durability and Longevity
When installed correctly, a self leveling epoxy resin floor can last for decades without chipping, peeling, or fading. It’s resistant to heavy traffic, chemicals, and impact damage.
3. Moisture and Stain Resistance
Unlike porous concrete, self leveling epoxy for concrete creates a non-porous surface, protecting against oil stains, chemical spills, and water damage.
4. Easy Maintenance
Dust, dirt, and spills can be wiped away with minimal effort. For larger commercial areas, routine cleaning with a mop or machine keeps it looking brand new.
5. Design Flexibility
From solid colors to metallic swirls, self leveling garage floor coatings can be customized to match your vision. Pair it with metallic epoxy for a luxury look.
Where to Use a Self Leveling Epoxy Floor
This flooring system is versatile enough for both residential and commercial applications.
-
Garages – Resistant to hot tire marks, oil stains, and vehicle fluids. See our epoxy garage floors in Houston for inspiration.
-
Warehouses – High durability for forklift traffic and heavy loads.
-
Kitchens & Food Facilities – Hygienic, non-absorbent surface.
-
Healthcare Spaces – Seamless, sterile, and easy to clean.
-
Showrooms – High-gloss, professional appearance.
How to Install a Self Leveling Epoxy Floor
The installation of a self leveling epoxy floor is a multi-step process that requires precision. While some DIY kits are available, professional installation is highly recommended for the best results.
Step 1: Surface Preparation
The success of your floor depends on proper preparation. This includes:
-
Concrete grinding with specialized equipment to remove old coatings and open the pores of the concrete.
-
Repairing cracks and holes so the epoxy adheres evenly.
-
Applying a concrete floor primer to ensure maximum bond.
Step 2: Mixing the Epoxy
Self leveling epoxy resin comes in two parts — resin and hardener — which are mixed together just before application.
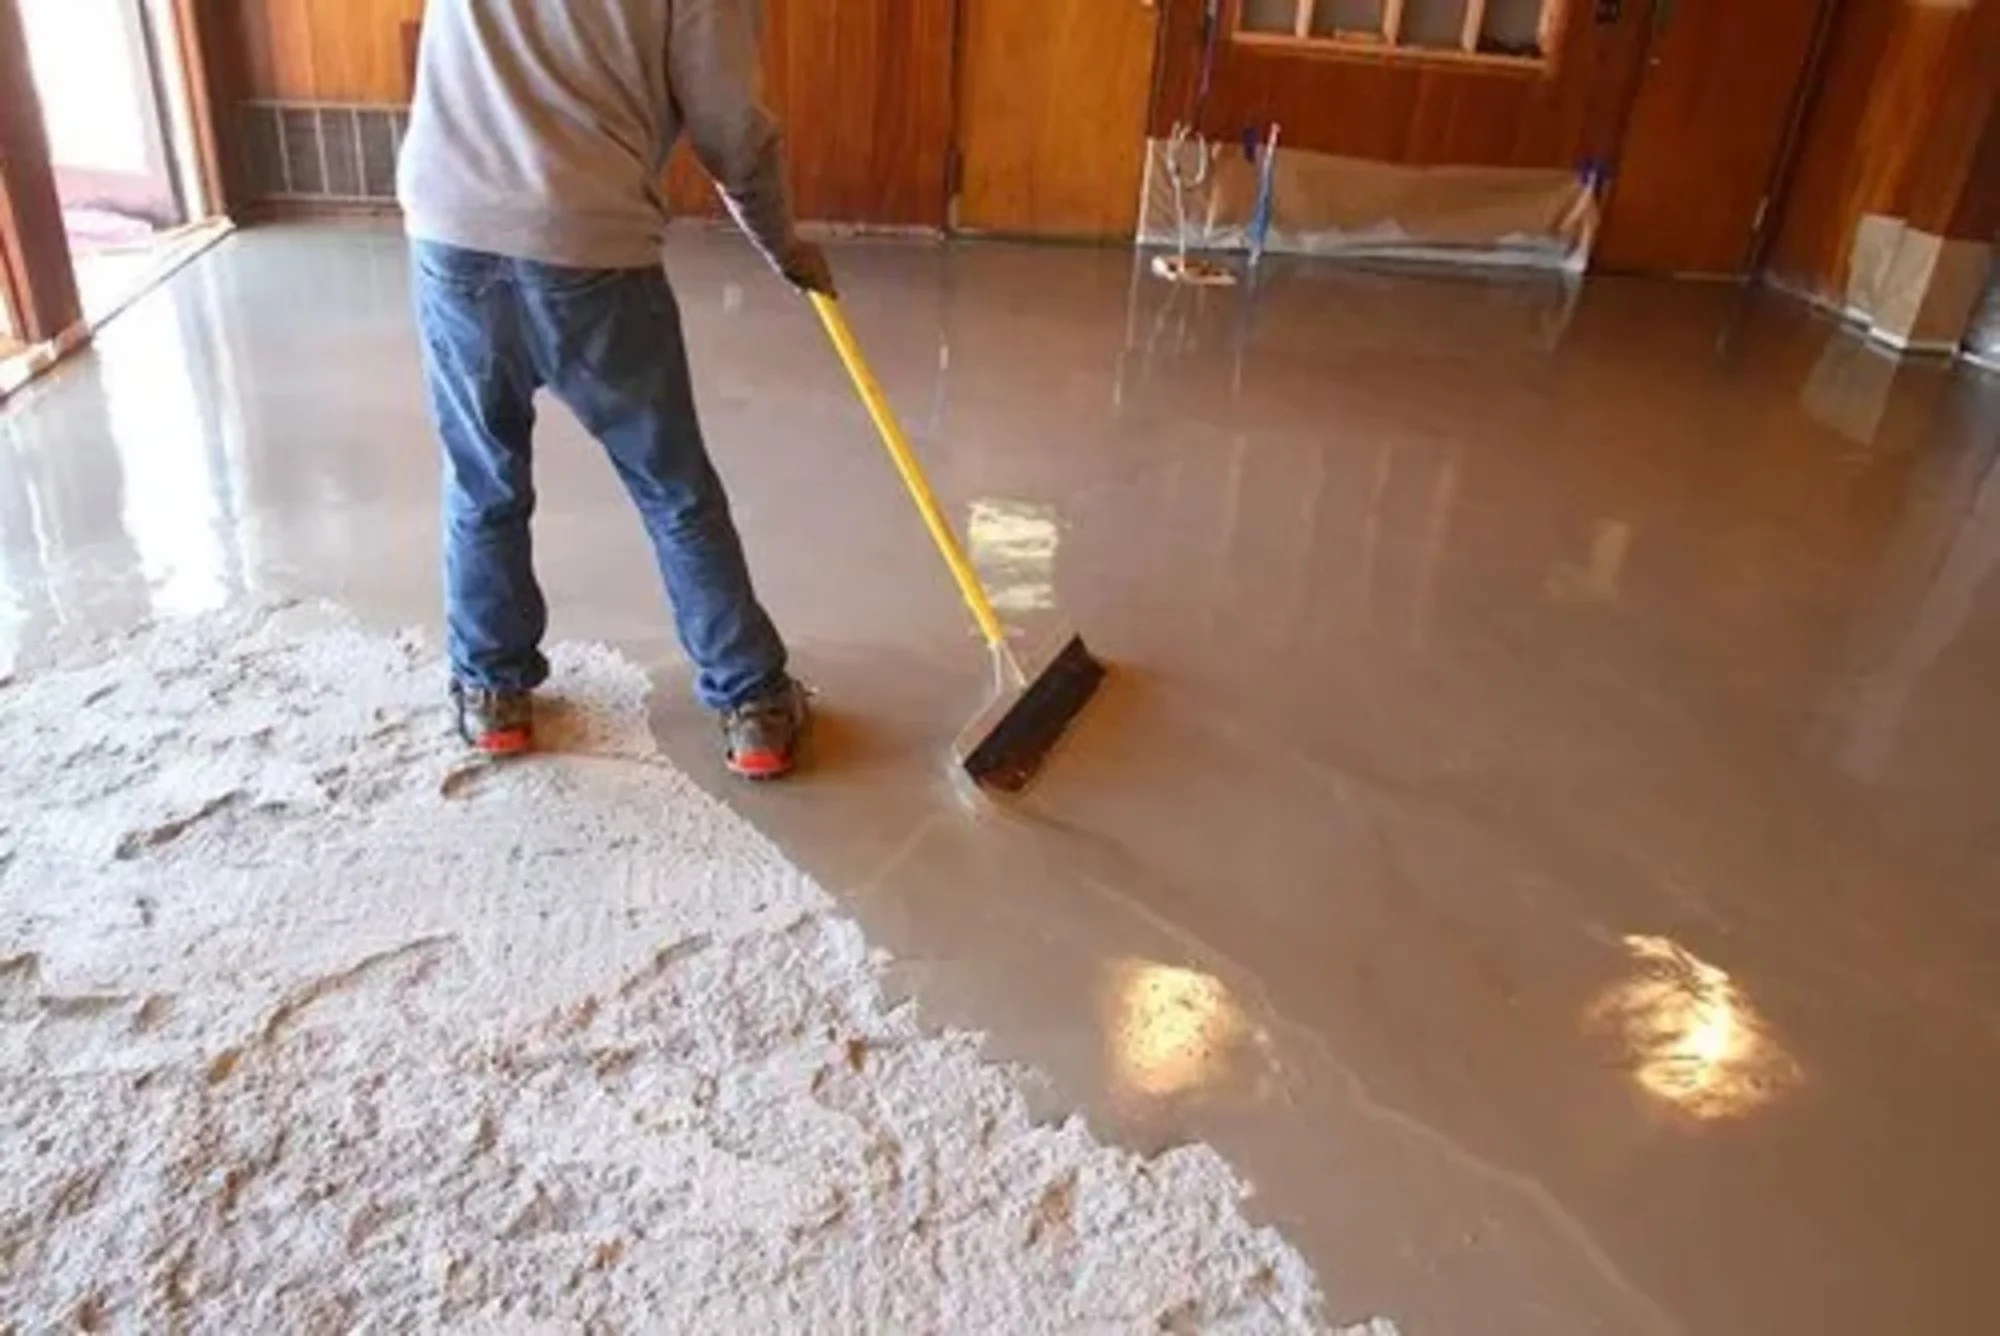
Step 3: Pouring and Spreading
The mixed epoxy is poured directly onto the floor and spread using a notched squeegee. It naturally flows to fill in uneven areas, creating a perfectly level surface.
Step 4: Adding Decorative Elements
At this stage, you can add metallic pigments, tints, or epoxy flakes for extra style.
Step 5: Curing and Topcoat
After curing (typically 24–48 hours), a clear topcoat is applied for extra durability and a glossy finish.
Cost of a Self Leveling Epoxy Floor
The cost of installing a self leveling epoxy floor depends on several factors:
-
Floor Size – Larger spaces often cost less per square foot due to economies of scale.
-
Surface Condition – Floors requiring heavy preparation or repairs will add to the cost.
-
Customization – Metallic pigments, decorative flakes, and logos increase the price.
-
Location – Labor rates can vary depending on your region.
On average:
-
Basic solid color self leveling epoxy: $4 – $7 per sq. ft.
-
Metallic or decorative epoxy: $7 – $12 per sq. ft.
For a precise quote, you can reach out to Rhino Epoxy Pro for a personalized estimate.
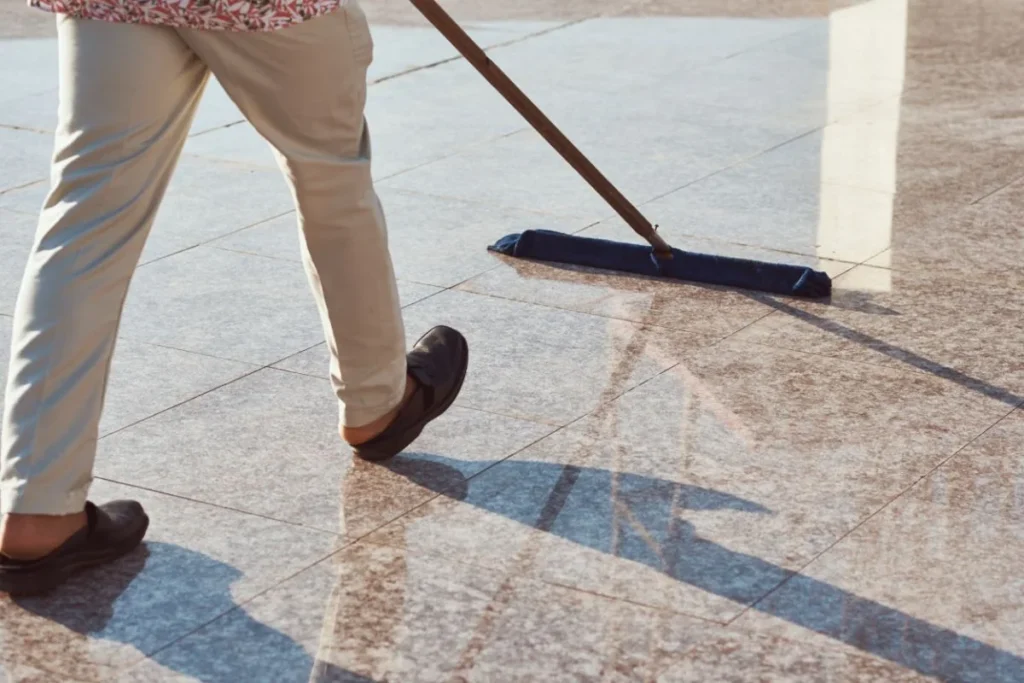
Maintenance Tips for Self Leveling Epoxy Floors
-
Sweep regularly to remove dust and debris.
-
Clean spills immediately to prevent staining.
-
Use a neutral pH cleaner for routine mopping.
-
Avoid dragging heavy objects without protective padding.
-
Reapply a protective topcoat every few years to maintain gloss and durability.
Why Choose Rhino Epoxy Pro for Your Flooring Project?
At Rhino Epoxy Pro, we specialize in high-quality epoxy concrete flooring services in Houston. Our team handles everything — from surface preparation to final topcoat — ensuring your new floor is not only beautiful but built to last.
Whether you want a self leveling garage floor for your home or a self leveling epoxy for concrete in a commercial space, we bring the expertise, tools, and creativity to make it happen.
Final Thoughts
A self leveling epoxy floor is more than just a coating — it’s a long-term investment in durability, beauty, and functionality. With proper installation and care, it can transform dull concrete into a smooth, stunning, and low-maintenance surface.
If you’re ready to upgrade your space, check out our services or get in touch for a free consultation.
Comments are closed